4 Juli 2025 · 8 min read
Install Oracle Database 19c pada Linux 9 (RHEL9, Centos9, OL9)
Langkah mudah memahami cara menginstall Oracle Database 19 pada Linux 9 (RHEL9, Centos9, OL9) beserta konfigurasi dasar yang diperlukan.
Panduan lengkap langkah-langkah instalasi Oracle Database 19c pada sistem operasi Linux versi 9, mencakup Red Hat Enterprise Linux 7, CentOS 7, dan Oracle Linux 7. Artikel ini juga menyertakan praktik terbaik dalam konfigurasi sistem dan database untuk memastikan instalasi berjalan optimal dan siap digunakan di lingkungan produksi.
Download Oracle Database 19c di See: https://www.oracle.com/id/database/technologies/oracle19c-linux-downloads.html
Download OPatch 19 See: https://updates.oracle.com/download/6880880.html
Download Oracle Patch 19.23 See: <https://support.oracle.com/knowledge/Oracle Cloud/2521164_1.html>
Konfigurasi Local Repository
Membuat Local Repository bisa lihat di ....
Konfigurasi Sistem Operasi
Otomatis konfigurasi dengan preinstall oracle
# Download preinstall jika ada internet
curl -o oracle-database-preinstall-19c-1.0-1.el9.x86_64.rpm https://yum.oracle.com/repo/OracleLinux/OL9/appstream/x86_64/getPackage/oracle-database-preinstall-19c-1.0-1.el9.x86_64.rpm

# Install
yum -y localinstall oracle-database-preinstall-19c-1.0-1.el9.x86_64.rpm
Manual konfigurasi
Konfigurasi Kernel
vi /etc/sysctl.conf

# Tambahkan konfigurasi berikut
fs.file-max = 6815744
kernel.sem = 250 32000 100 128
kernel.shmmni = 4096
kernel.shmall = 1073741824
kernel.shmmax = 4398046511104
kernel.panic_on_oops = 1
net.core.rmem_default = 262144
net.core.rmem_max = 4194304
net.core.wmem_default = 262144
net.core.wmem_max = 1048576
net.ipv4.conf.all.rp_filter = 2
net.ipv4.conf.default.rp_filter = 2
fs.aio-max-nr = 1048576
net.ipv4.ip_local_port_range = 9000 65500
Jalankan ini saat ada perubahan pada sysctl.conf
/sbin/sysctl -p
Konfigurasi Security Limits
vi /etc/security/limits.conf

# Tambahkan konfigurasi berikut
oracle   soft   nofile    1024
oracle   hard   nofile    65536
oracle   soft   nproc    16384
oracle   hard   nproc    16384
oracle   soft   stack    10240
oracle   hard   stack    32768
oracle   hard   memlock    134217728
oracle   soft   memlock    134217728
Install package yang dibutuhkan
vi install_package.sh

# Tambahkan konfigurasi berikut
dnf install -y bc
dnf install -y binutils
dnf install -y compat-openssl11
dnf install -y elfutils-libelf
dnf install -y fontconfig
dnf install -y glibc
dnf install -y glibc-devel
dnf install -y ksh
dnf install -y libaio
dnf install -y libasan
dnf install -y liblsan
dnf install -y libX11
dnf install -y libXau
dnf install -y libXi
dnf install -y libXrender
dnf install -y libXtst
dnf install -y libxcrypt-compat
dnf install -y libgcc
dnf install -y libibverbs
dnf install -y libnsl
dnf install -y librdmacm
dnf install -y libstdc++
dnf install -y libxcb
dnf install -y libvirt-libs
dnf install -y make
dnf install -y policycoreutils
dnf install -y policycoreutils-python-utils
dnf install -y smartmontools
dnf install -y sysstat

dnf install -y glibc-headers
dnf install -y ipmiutil
dnf install -y libnsl2
dnf install -y libnsl2-devel
dnf install -y net-tools
dnf install -y nfs-utils

# Added by me.
dnf install -y gcc
dnf install -y unixODBC
yum install -y unzip
yum install -y xorg-x11-xauth
yum install -y xterm
yum install -y xorg-x11-utils
Jalankan Install Package
# Modifikasi executable script agar bisa dieksekusi
chmod +x install_package.sh
# Jalankan script untuk menginstall package yang dibutuhkan
./install_package.sh
Buat grup dan user baru
groupadd -g 54321 oinstall
groupadd -g 54322 dba
groupadd -g 54323 oper
useradd -u 54321 -g oinstall -G dba,oper oracle
passwd oracle
Konfigurasi SELINUX
vi /etc/selinux/config

# Ubah konfigurasi berikut
SELINUX=permissive

# Dan Jalankan perintah berikut
setenforce Permissive
Nonaktifkan Firewall
systemctl stop firewalld
systemctl disable firewalld
Tambahkan IP Address dan Hostname pada /etc/hosts
vi /etc/hosts


<IP Address>    <hostname>.localdomain   <hostname>
192.168.56.200  ol9-db.localdomain       ol9-db
Buat direktori untuk software oracle
mkdir /oracle
chown -R oracle:oinstall /oracle
Instalasi Oracle Database Software
dengan user oracle
Pastikan semua file sudah diupload ke direktori /home/oracle
$ ls
LINUX.X64_193000_db_home.zip  p36233263_190000_Linux-x86-64.zip  p6880880_190000_Linux-x86-64.zip
Buat Environment Oracle Database
vi db.env

# Oracle Settings
export TMP=/tmp
export TMPDIR=$TMP

export ORACLE_HOSTNAME=ol9-db
export ORACLE_UNQNAME=cdb1
export ORACLE_SID=cdb1

export ORACLE_BASE=/oracle/product/orabase
export ORACLE_HOME=/oracle/product/19c
export ORA_INVENTORY=/oracle/product/oraInventory

export PATH=/usr/sbin:/usr/local/bin:$PATH
export PATH=$ORACLE_HOME/bin:$ORACLE_HOME/OPatch:$PATH

export LD_LIBRARY_PATH=$ORACLE_HOME/lib:/lib:/usr/lib
export CLASSPATH=$ORACLE_HOME/jlib:$ORACLE_HOME/rdbms/jlib

# Fake Oracle Linux 8
export CV_ASSUME_DISTID=OEL8.6

alias sq="sqlplus / as sysdba"
Automatis jalankan env
vi .bash_profile

# path lengkap db.env
. /home/oracle/db.env
Buat direktori untuk Oracle base, home, dan inventory
mkdir -p /oracle/product/orabase
mkdir -p /oracle/product/19c
mkdir -p /oracle/product/oraInventory
mkdir -p /oracle/patch19-23
Pastikan environment oracle sudah tersedia
env | grep ORA

ORACLE_UNQNAME=cdb1
ORACLE_SID=cdb1
ORACLE_BASE=/oracle/product/orabase
ORACLE_HOSTNAME=ol9-db
ORA_INVENTORY=/oracle/product/oraInventory
ORACLE_HOME=/oracle/product/19c
Jika belum ada environment oracle jalanakan
. .bash_profile
Upload File dan copy ke Oracle home
unzip -qq LINUX.X64_193000_db_home.zip -d $ORACLE_HOME
Ekstak Patch
unzip -qq p36233263_190000_Linux-x86-64.zip -d /oracle/patch19-23/
Backup OPatch dan Ekstrak OPatch
cp -r $ORACLE_HOME/OPatch $ORACLE_HOME/OPatch.bak

unzip -qqo p6880880_190000_Linux-x86-64.zip -d $ORACLE_HOME
Cek OPatch
opatch version
Install Seoftware Oracle database 19c
cd $ORACLE_HOME
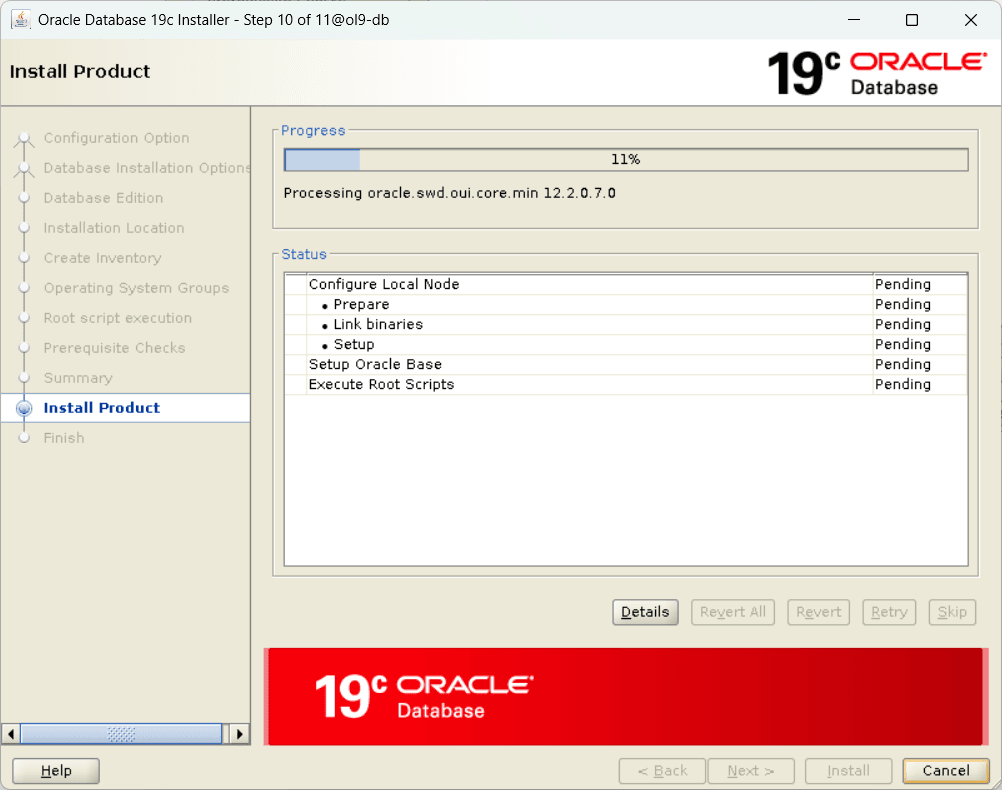
./runInstaller -applyRU /oracle/patch19-23/36233263

Preparing the home to patch...
Applying the patch /oracle/patch19-23/36233263...
Successfully applied the patch.
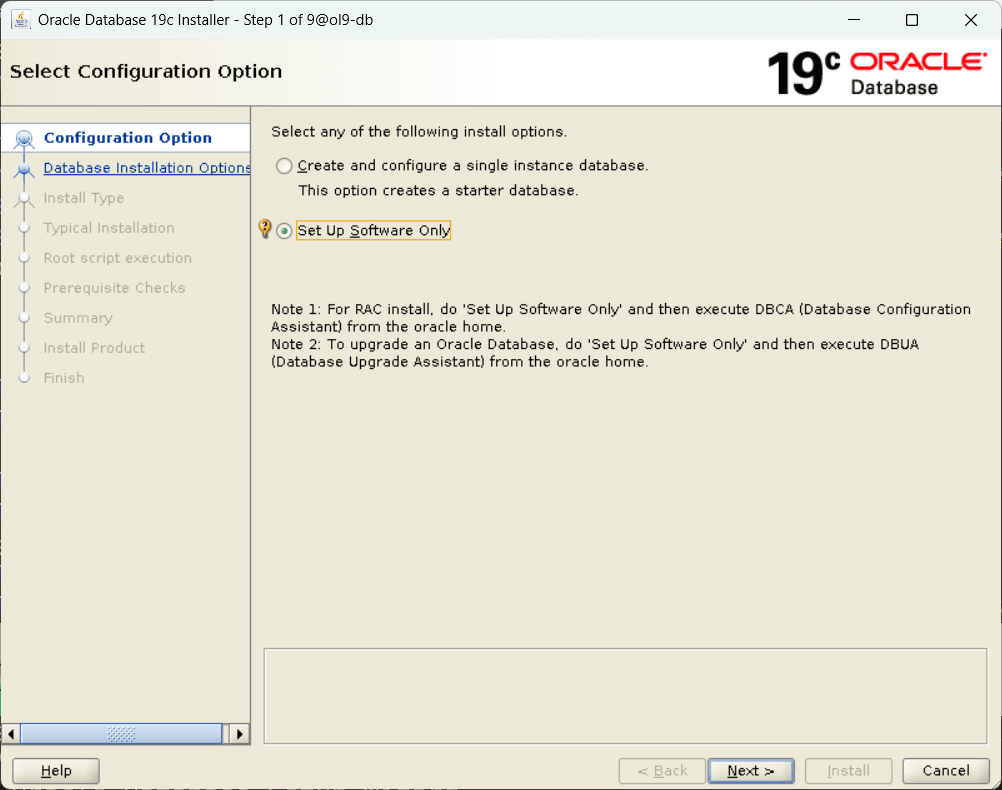
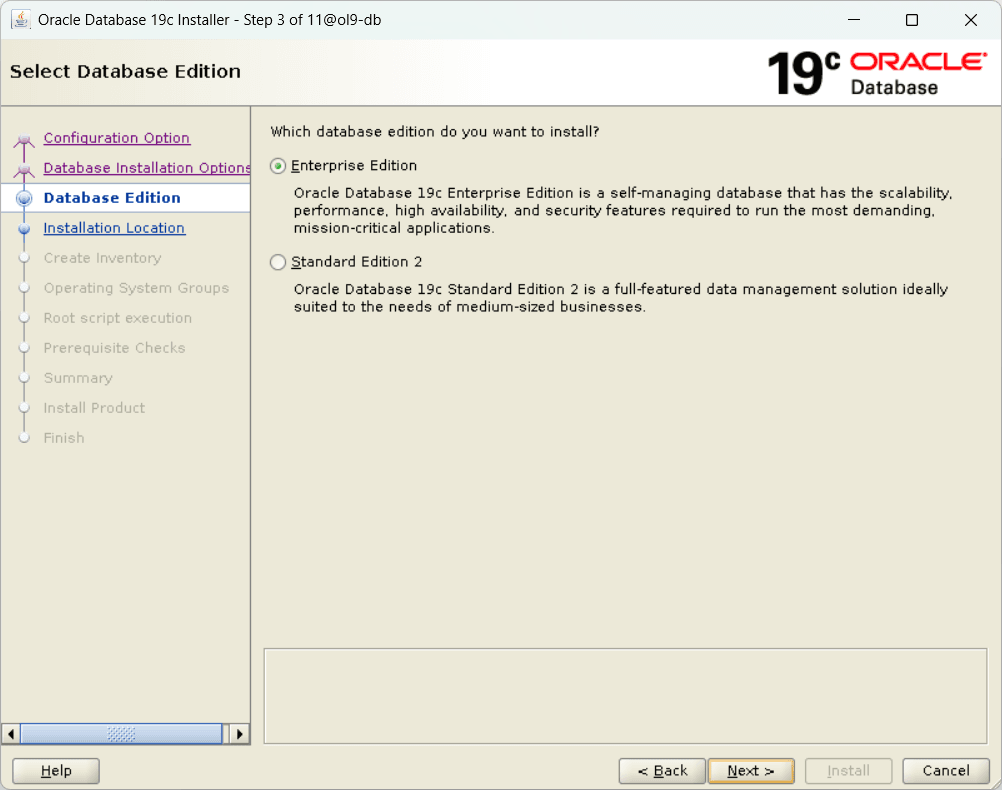
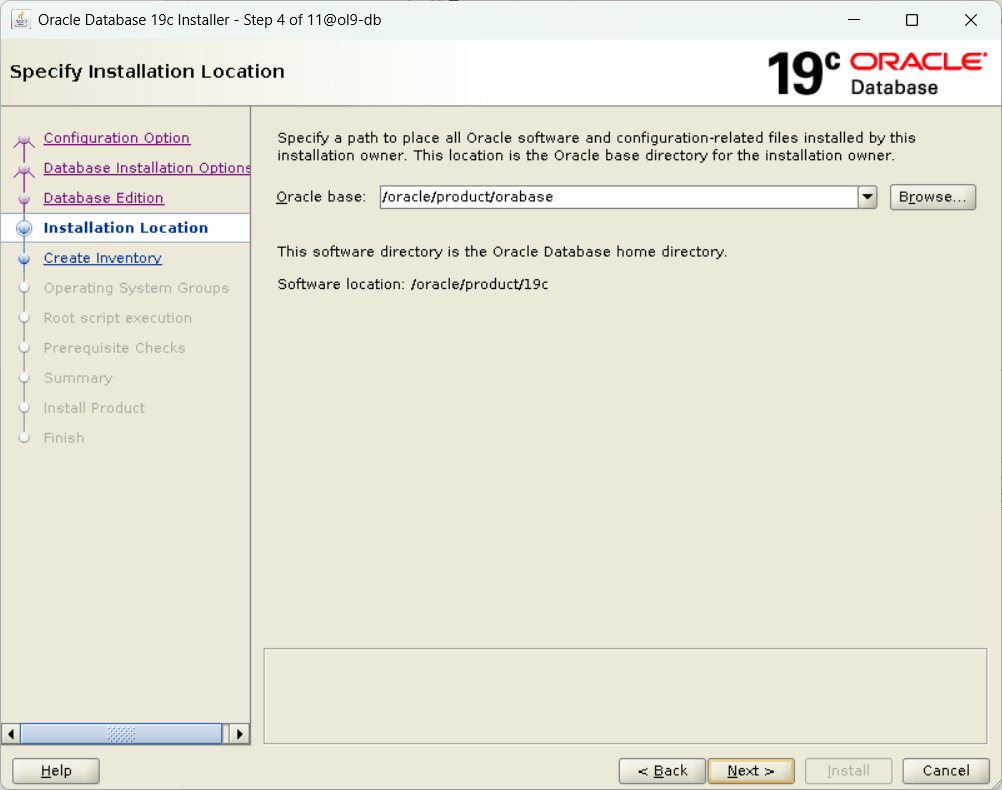
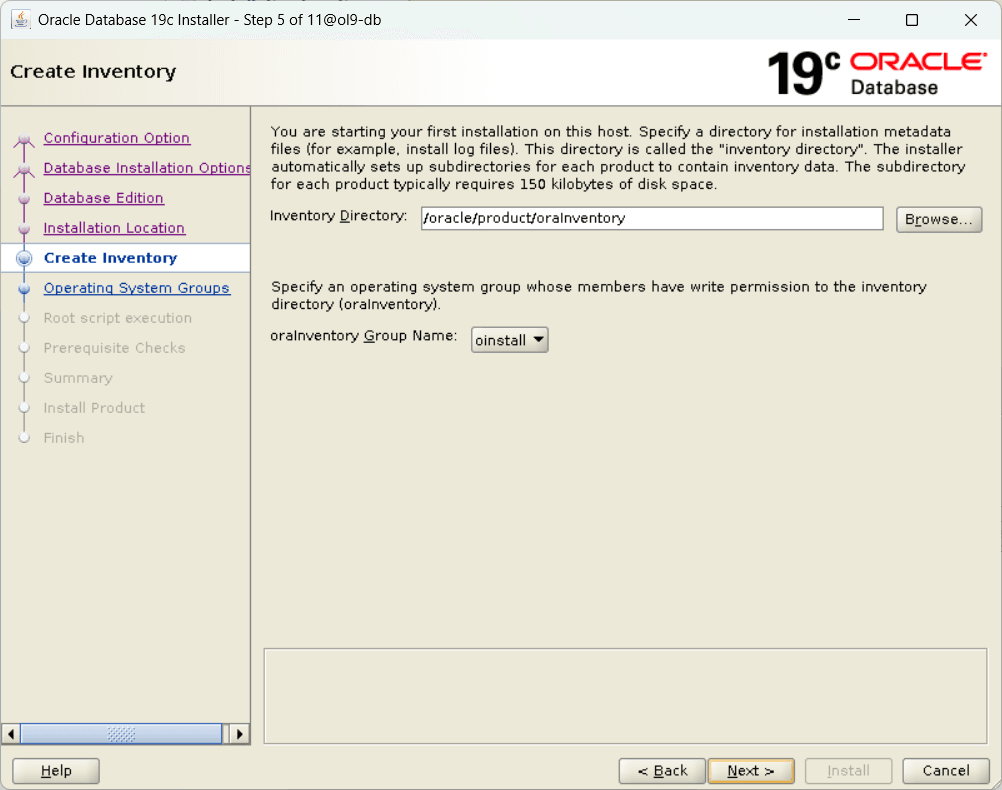
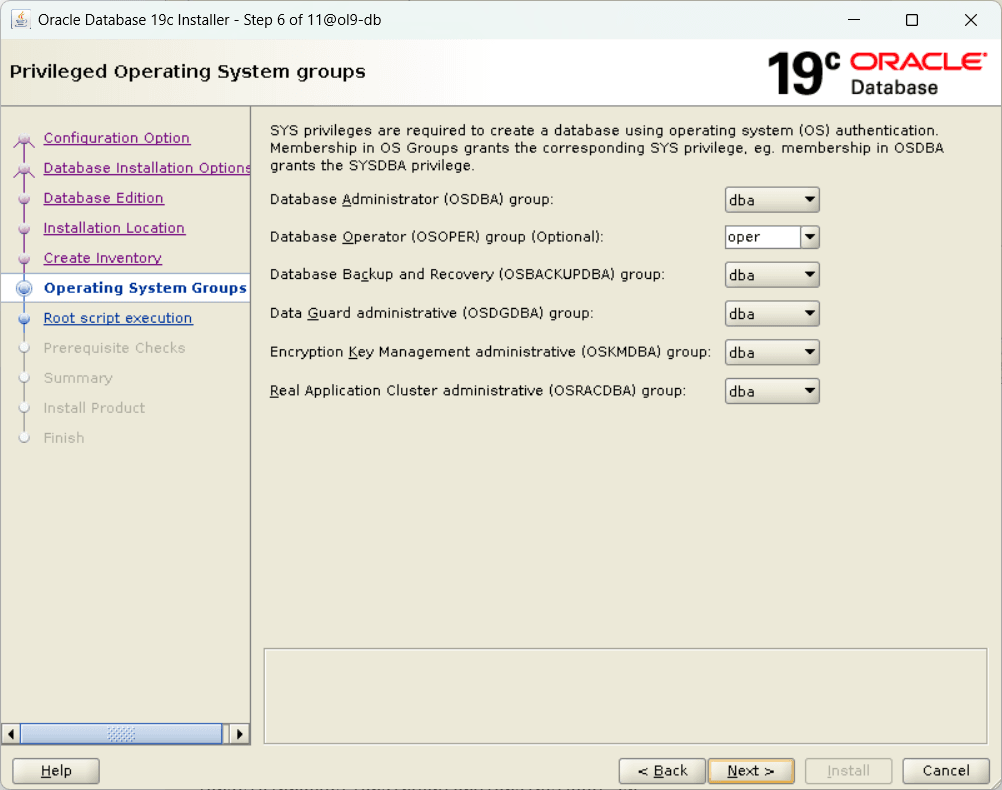
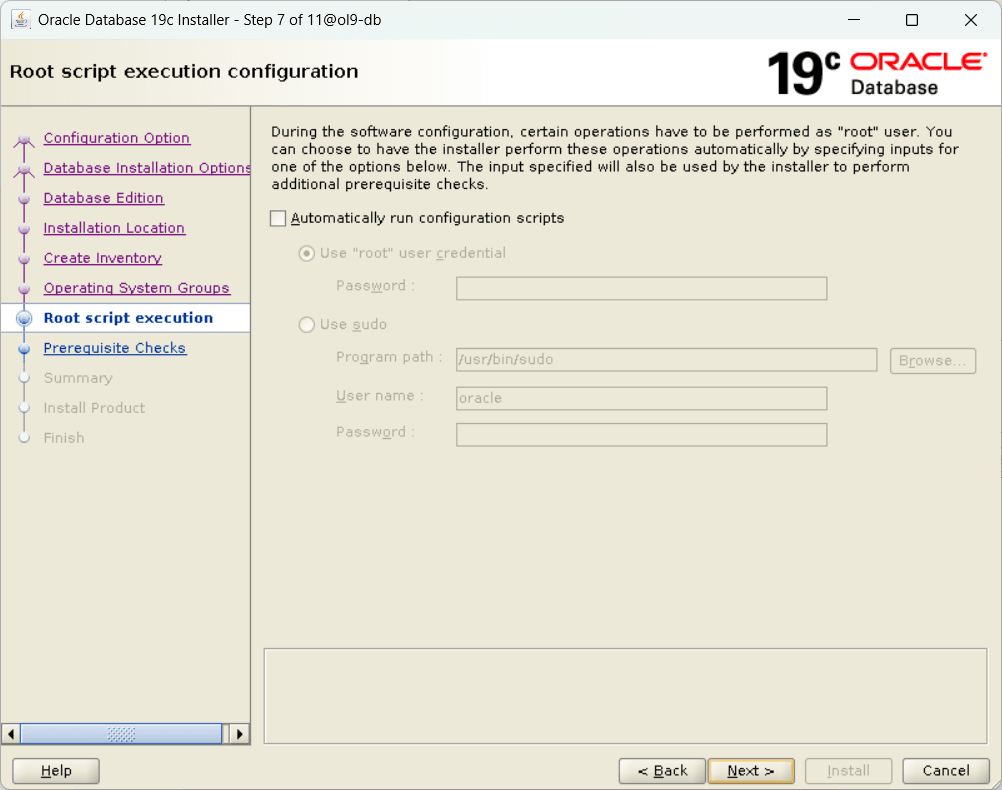
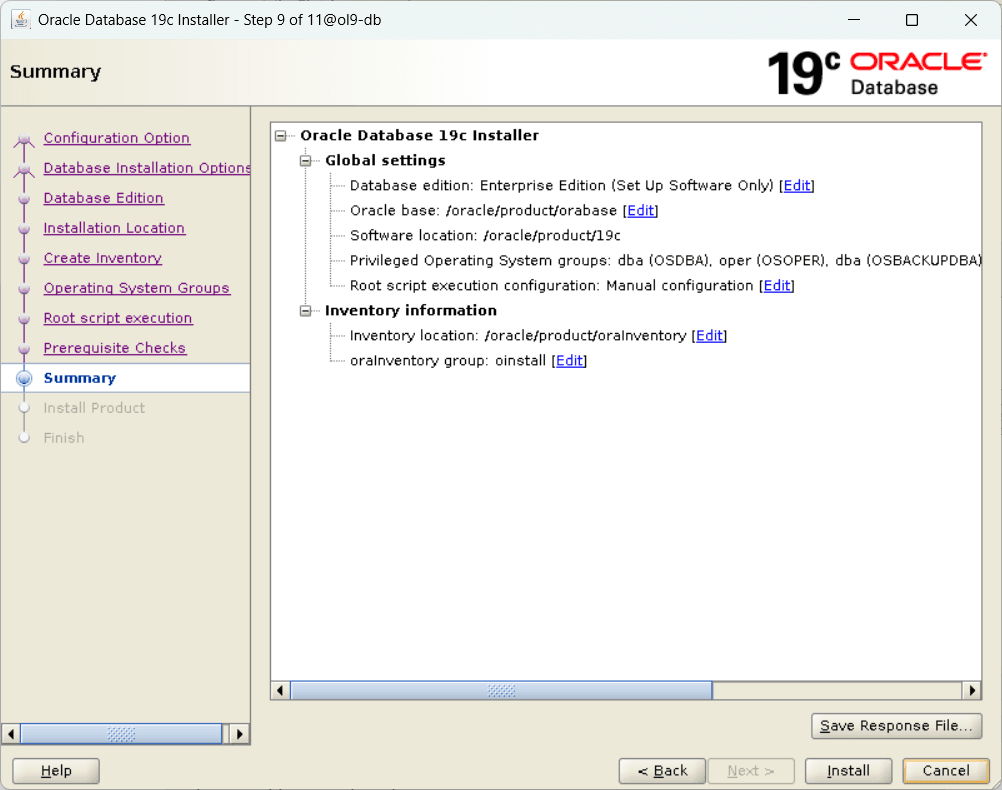
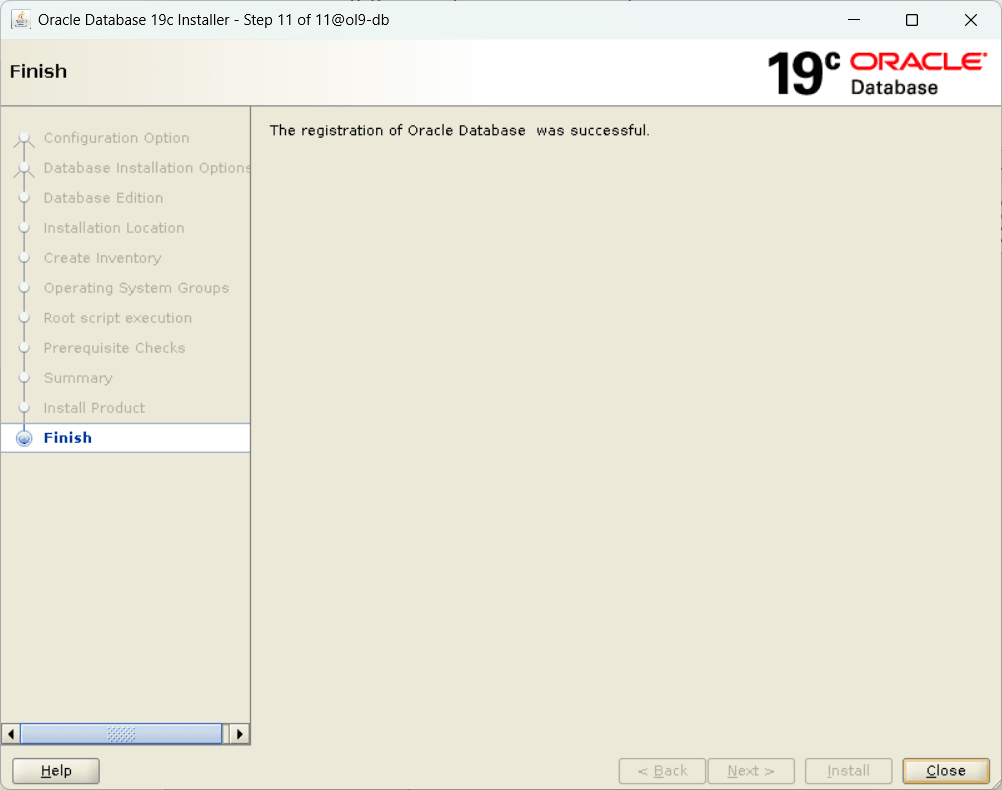
# Jalankan dengan user root
/oracle/product/oraInventory/orainstRoot.sh
/oracle/product/19c/root.sh
# Output
[root@ol9-db ~]# /oracle/product/oraInventory/orainstRoot.sh
Changing permissions of /oracle/product/oraInventory.
Adding read,write permissions for group.
Removing read,write,execute permissions for world.

Changing groupname of /oracle/product/oraInventory to oinstall.
The execution of the script is complete.
[root@ol9-db ~]# /oracle/product/19c/root.sh
Performing root user operation.

The following environment variables are set as:
    ORACLE_OWNER= oracle
    ORACLE_HOME=  /oracle/product/19c

Enter the full pathname of the local bin directory: [/usr/local/bin]:
   Copying dbhome to /usr/local/bin ...
   Copying oraenv to /usr/local/bin ...
   Copying coraenv to /usr/local/bin ...


Creating /etc/oratab file...
Entries will be added to the /etc/oratab file as needed by
Database Configuration Assistant when a database is created
Finished running generic part of root script.
Now product-specific root actions will be performed.
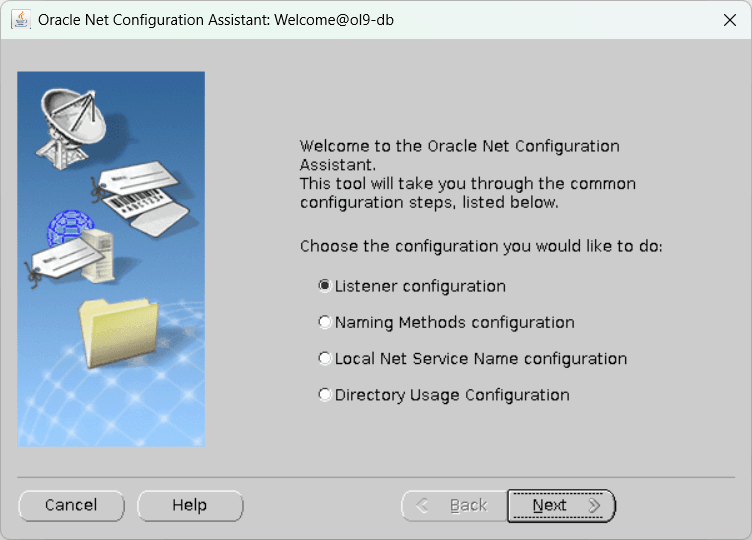
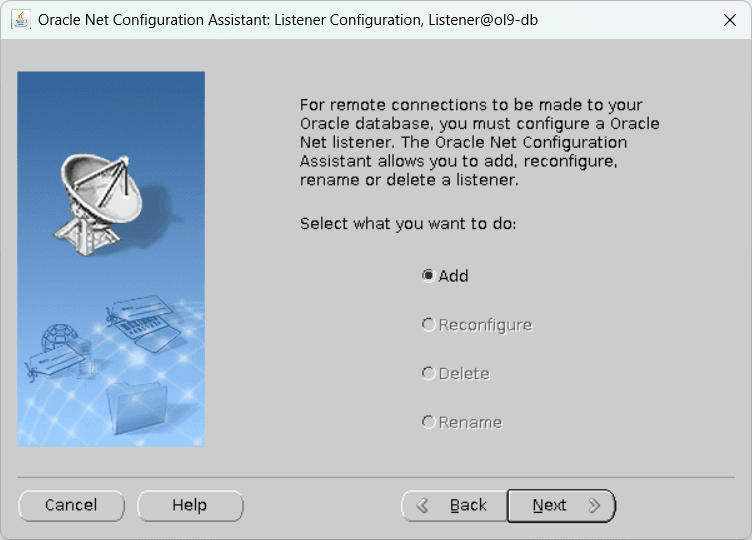
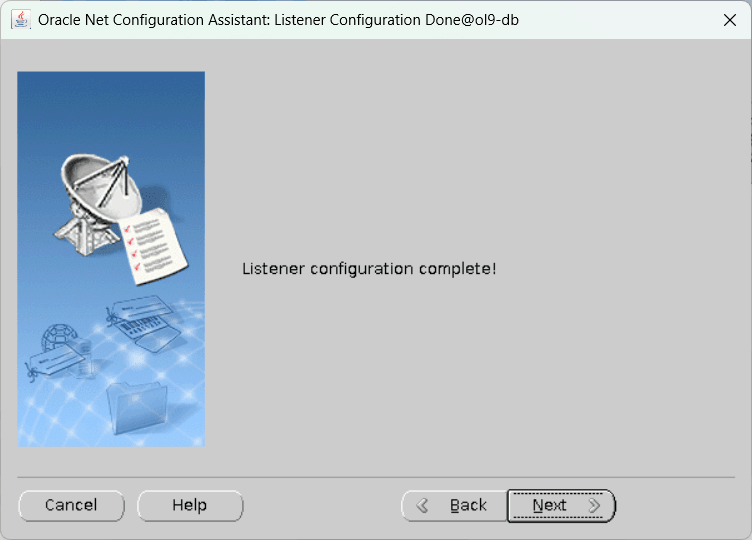
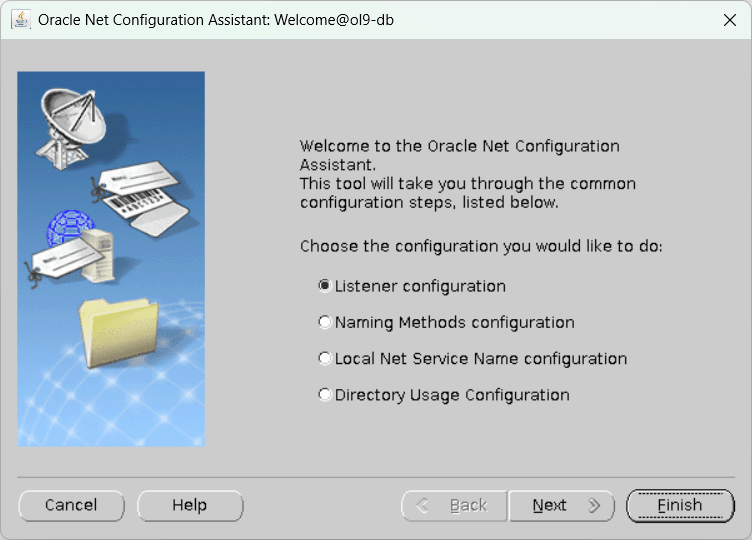
Create new Listener
netca
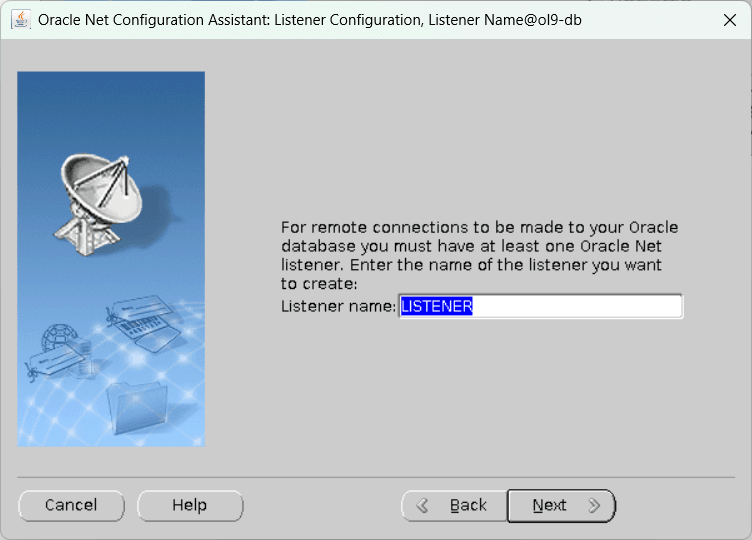
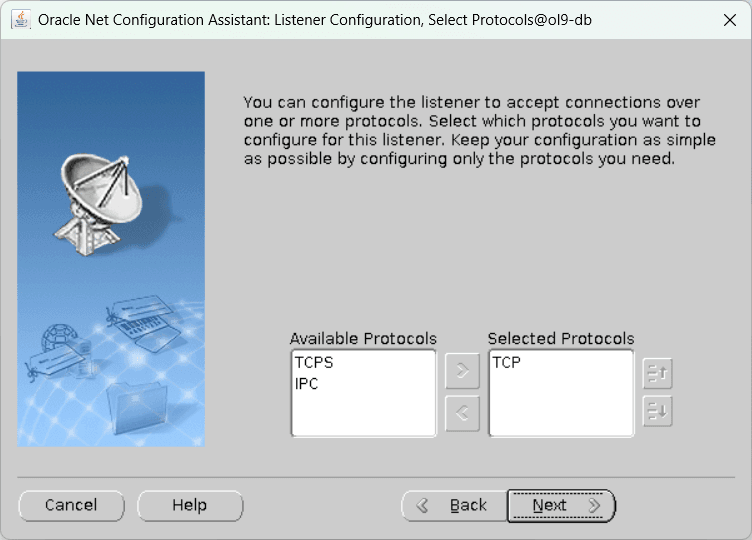
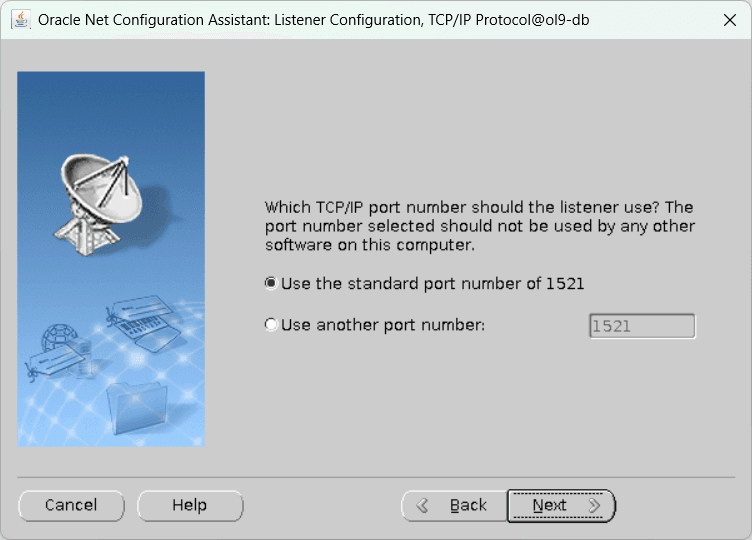
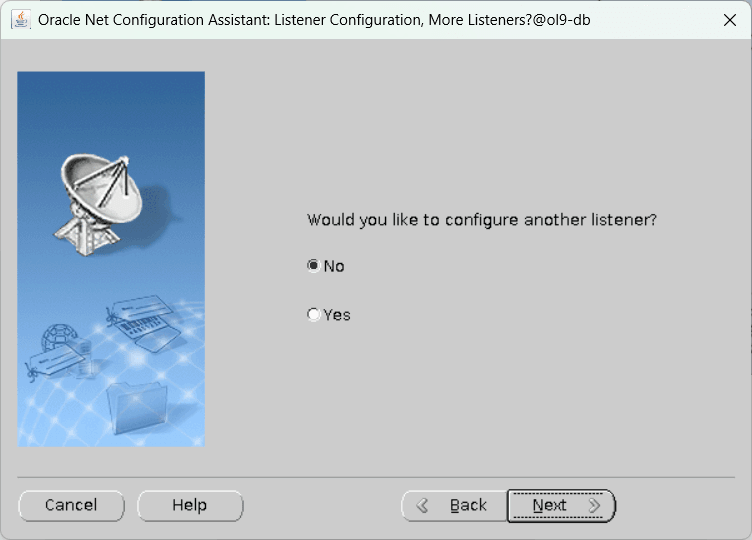
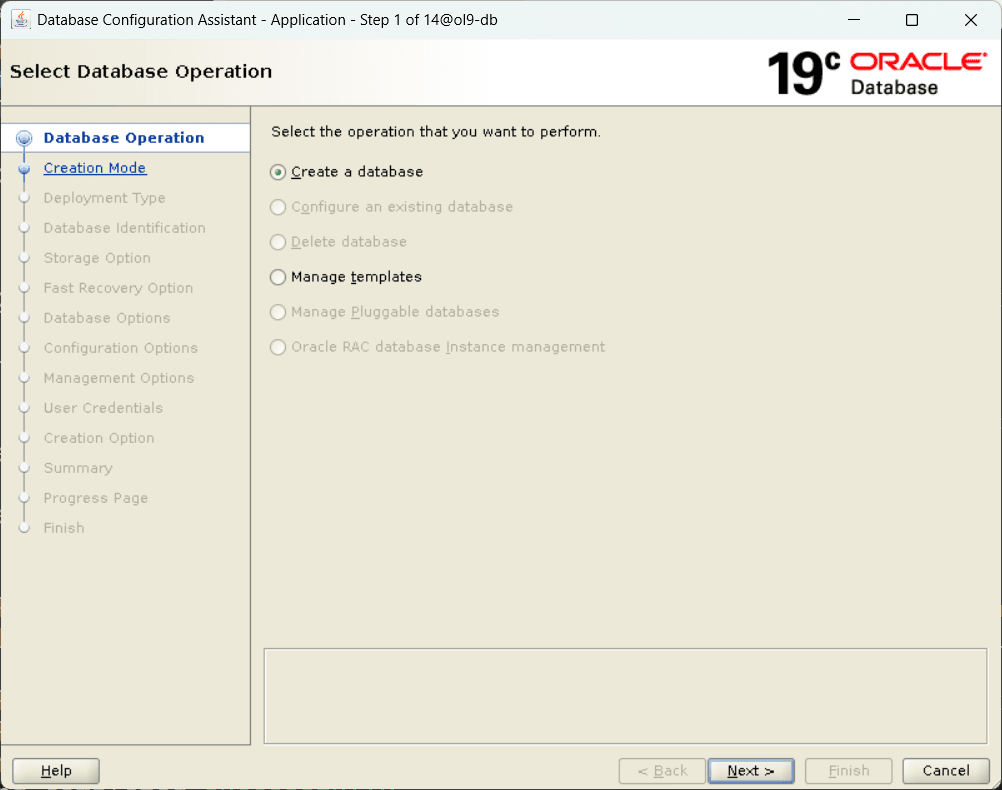
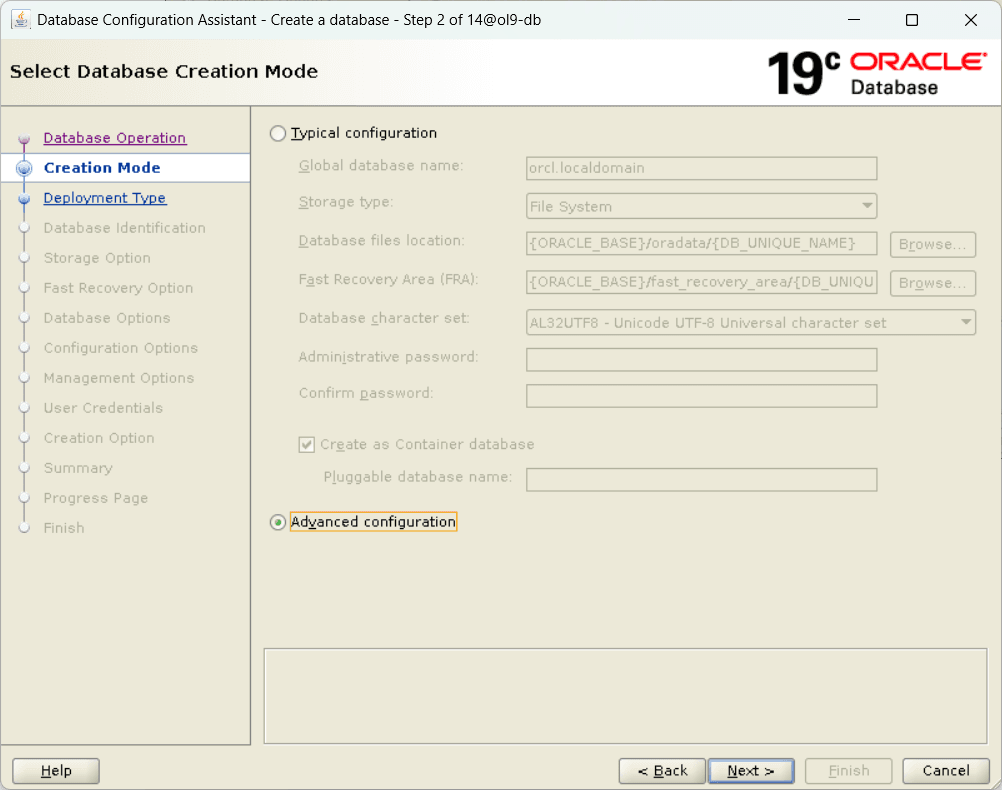
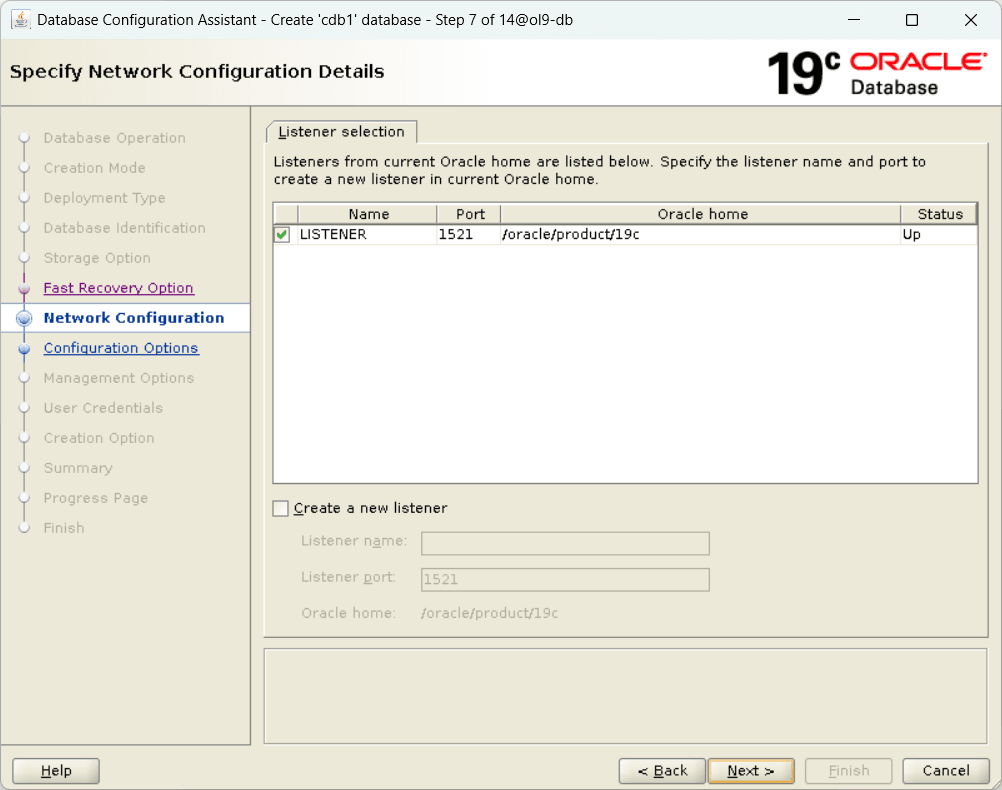
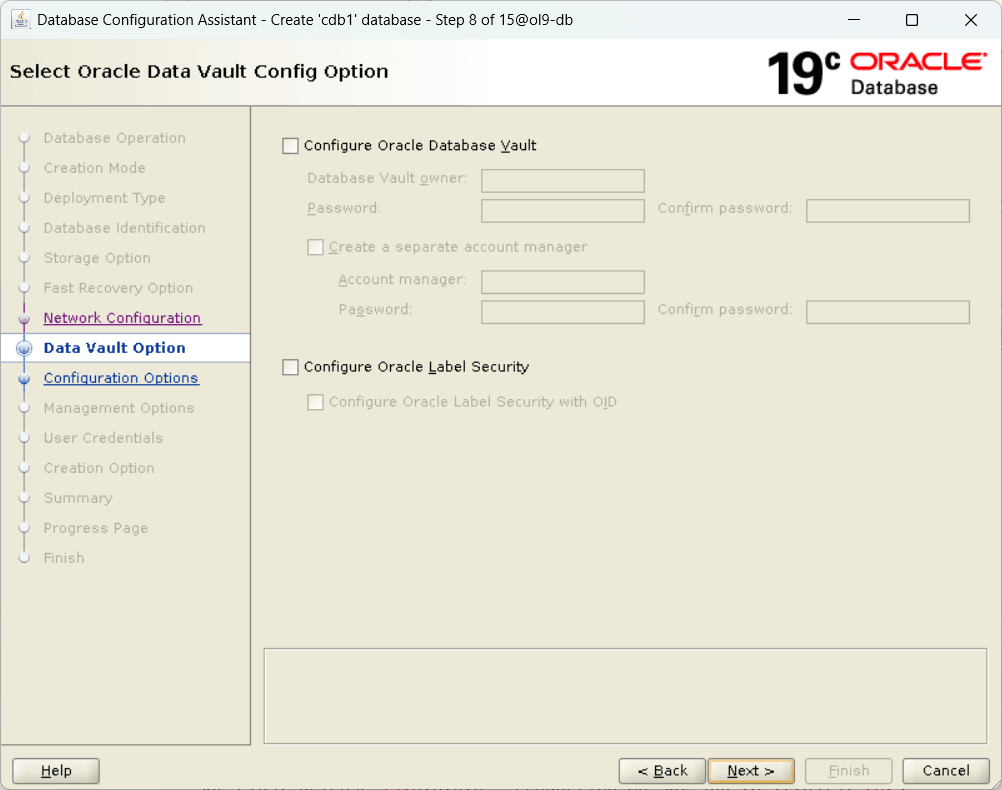
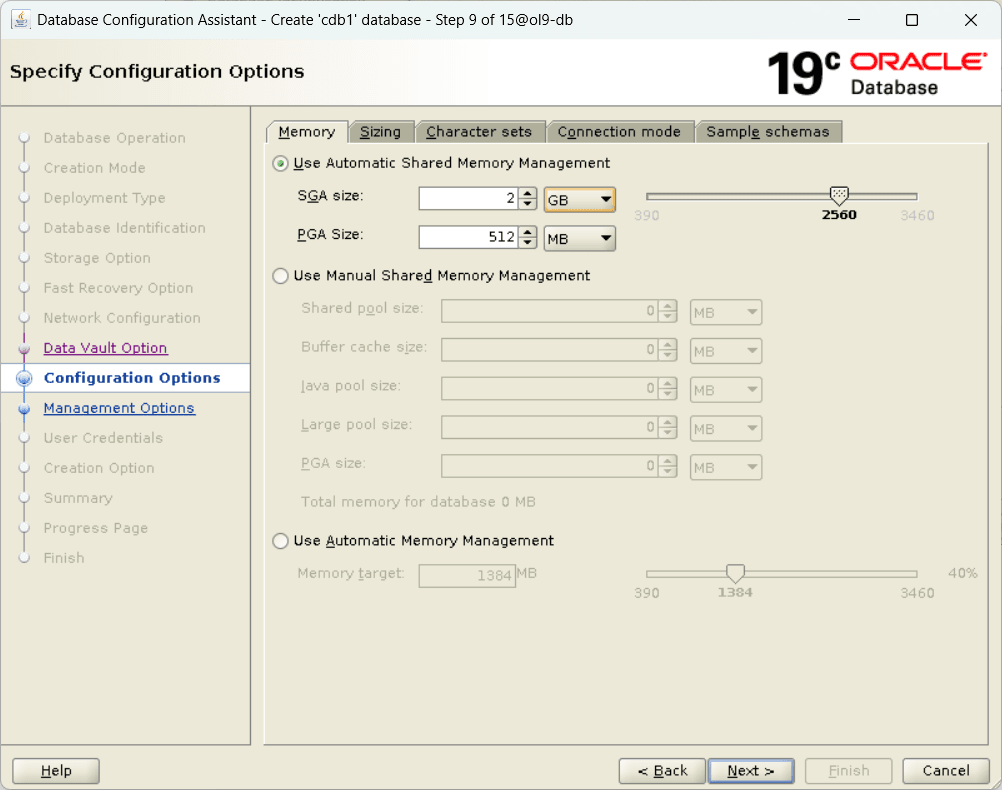
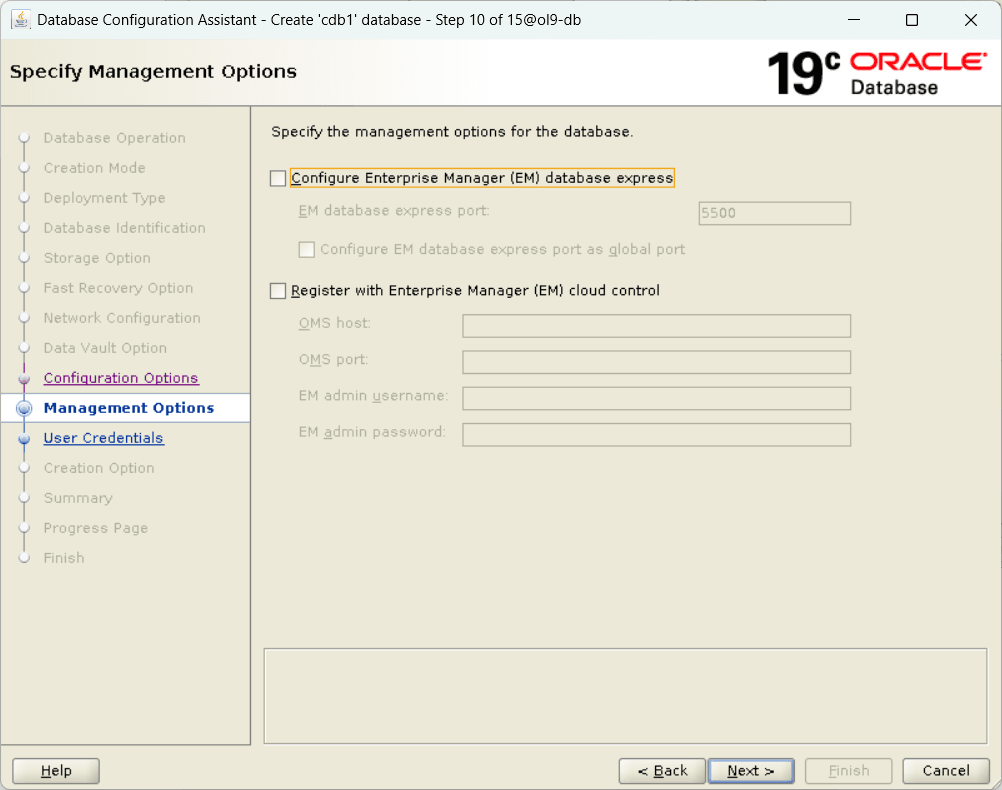
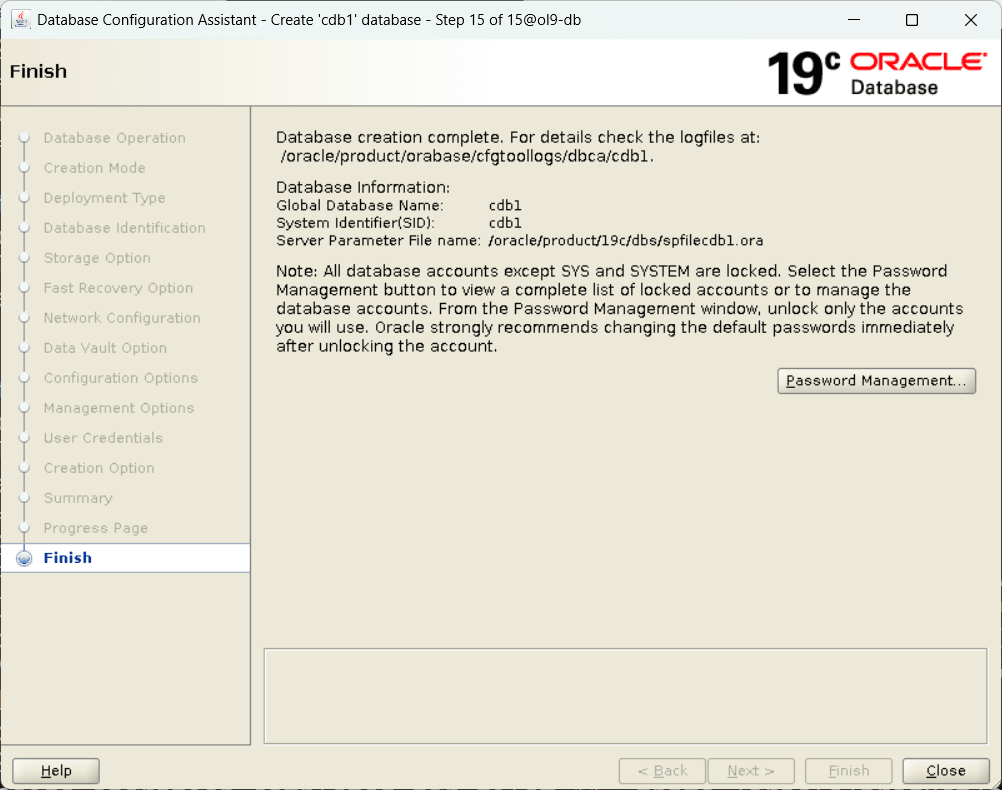
Buat Database Baru
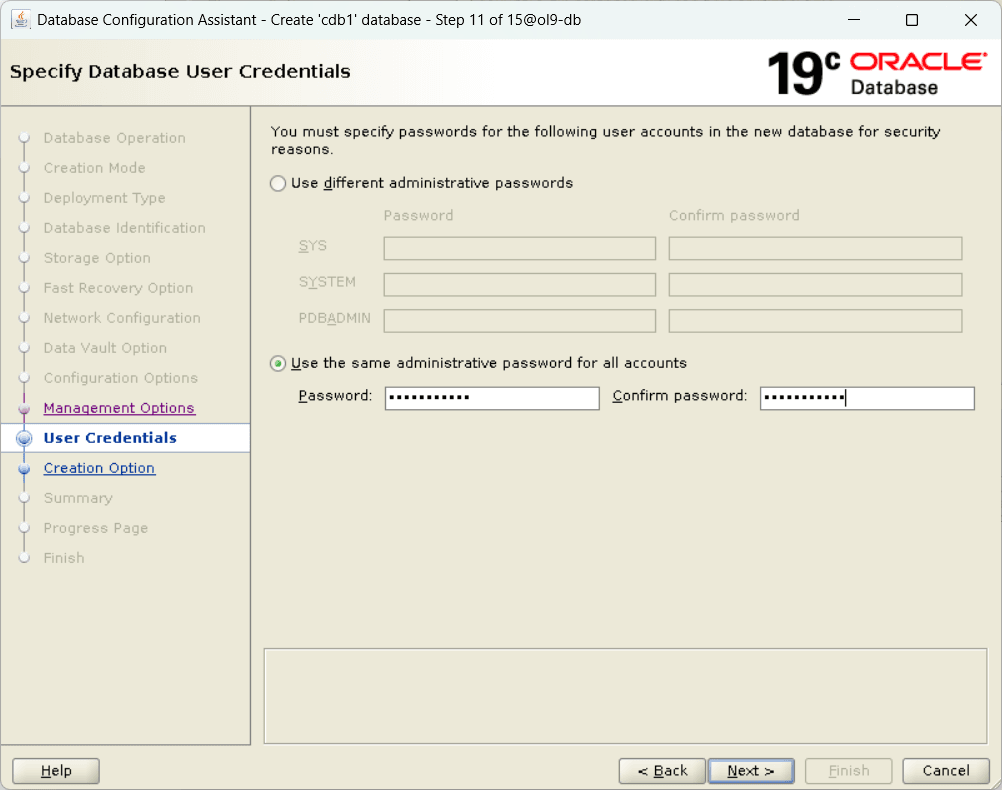
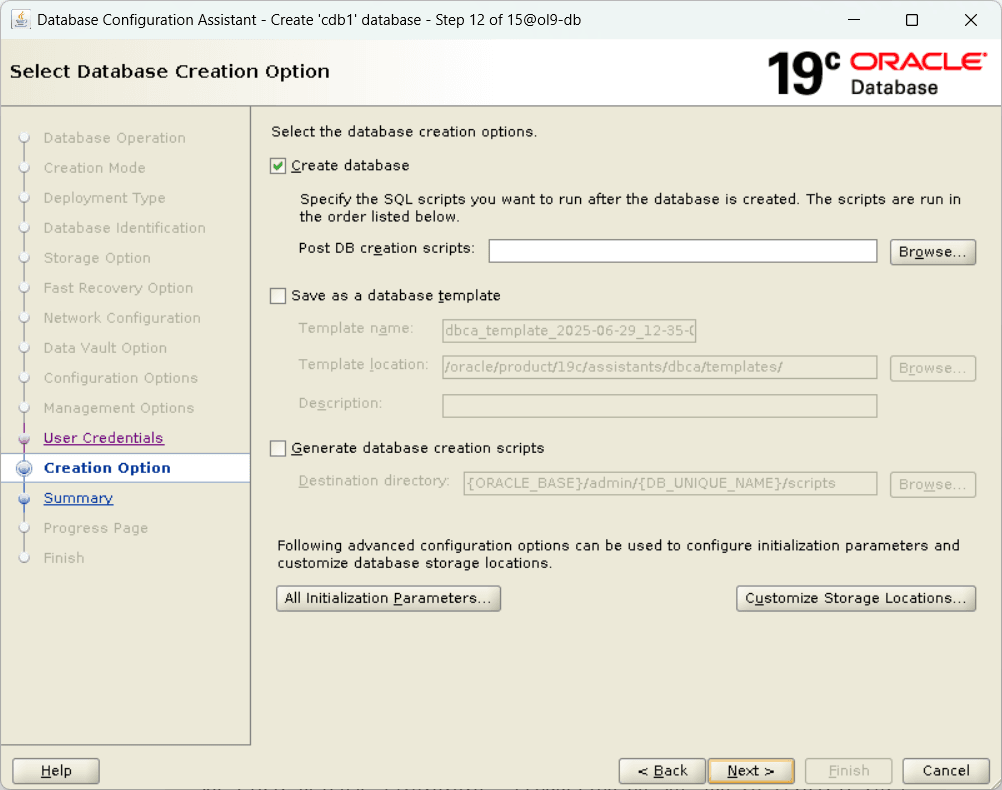
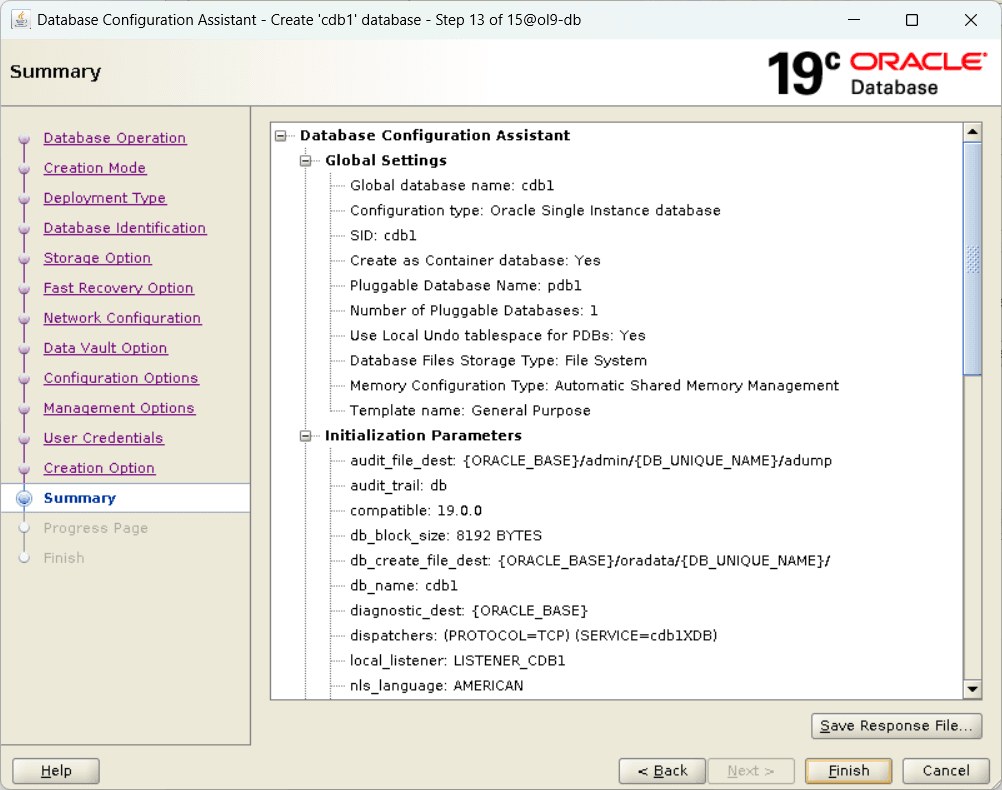
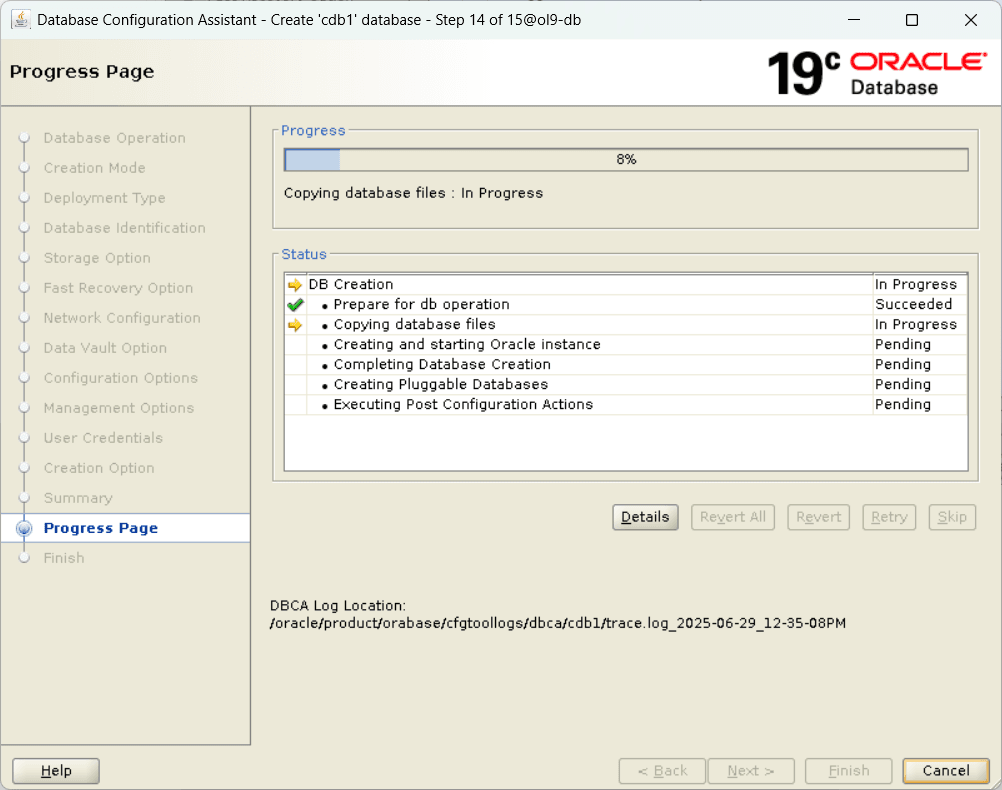
dbca
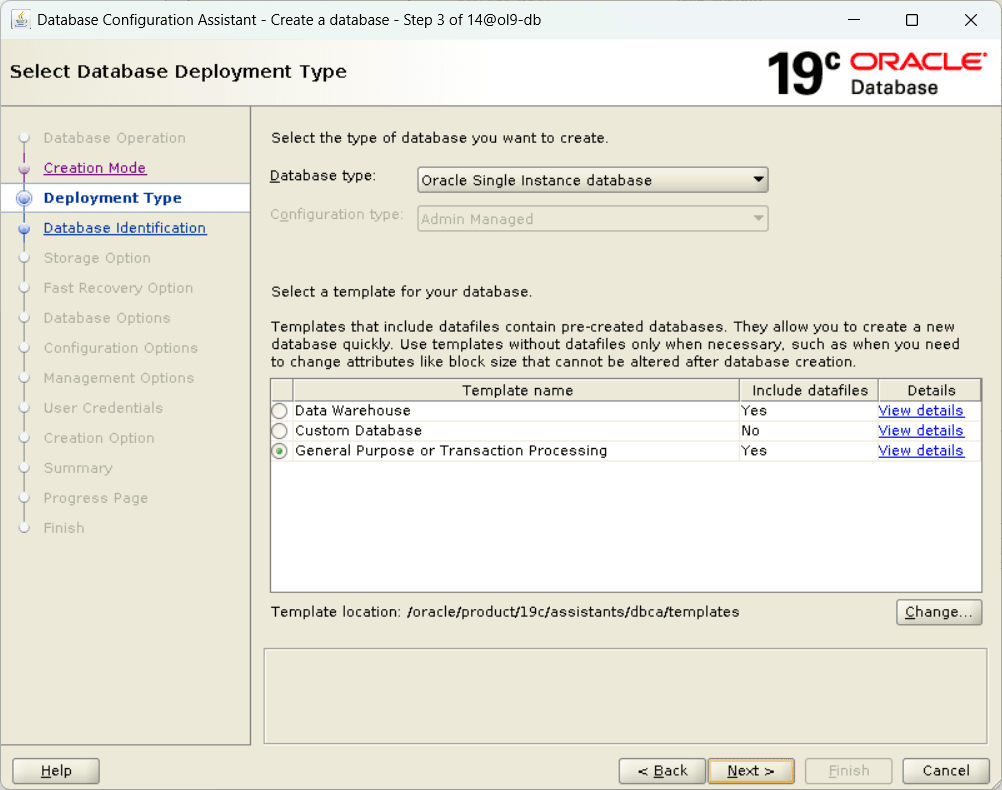
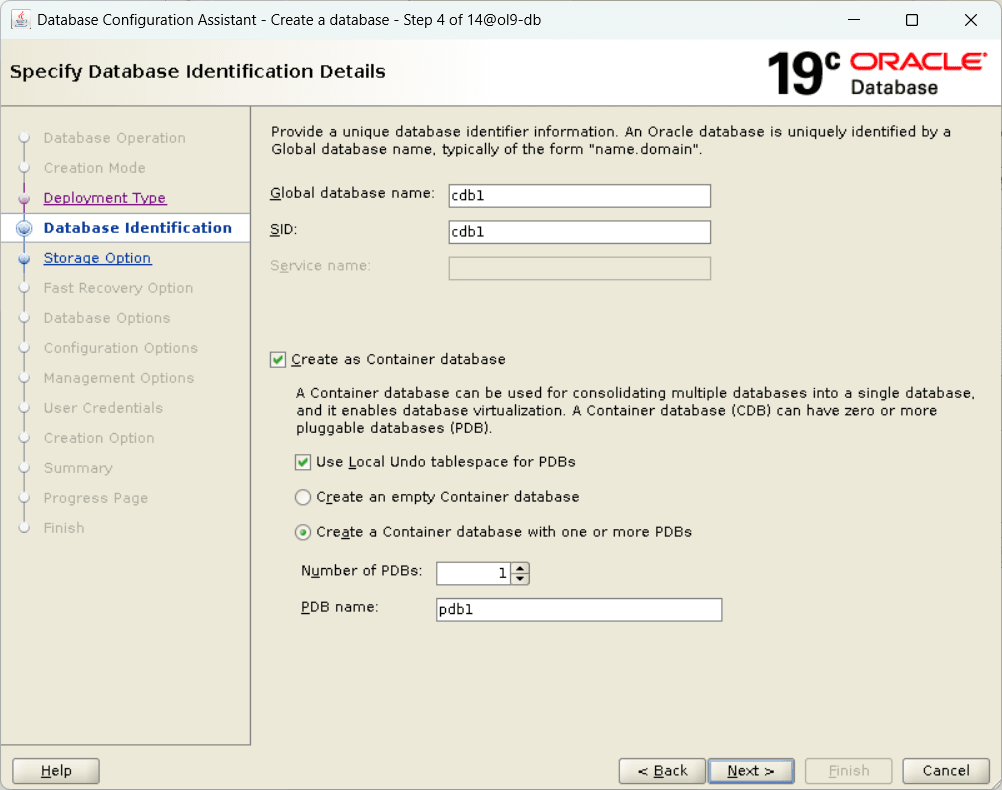
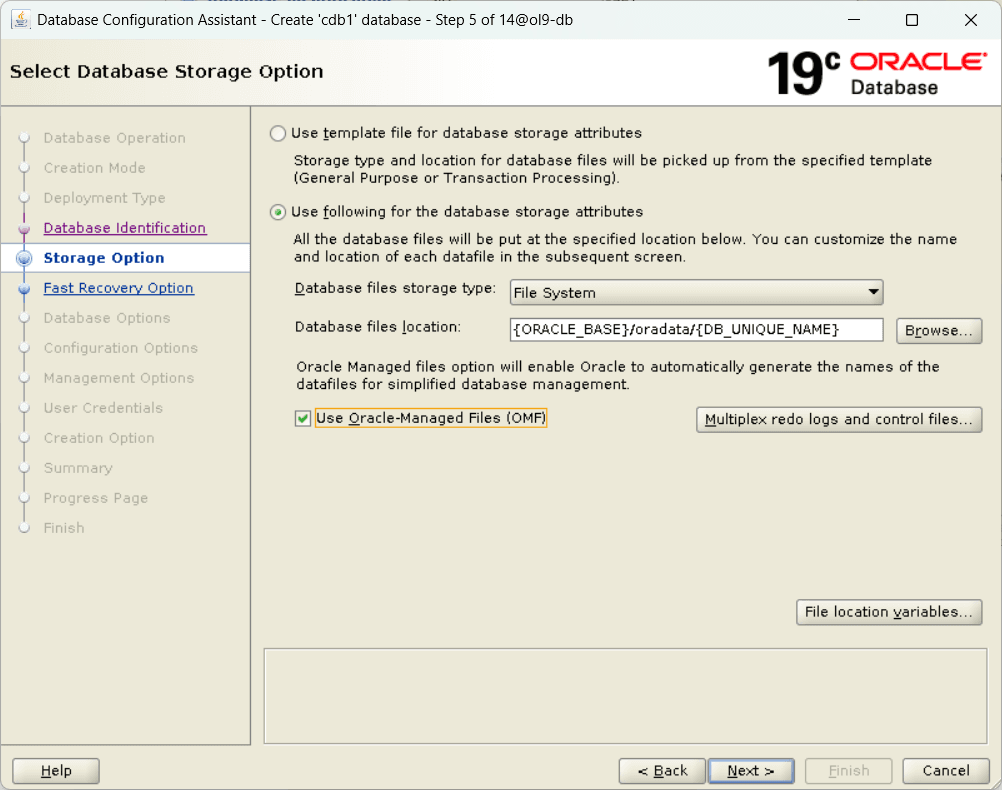
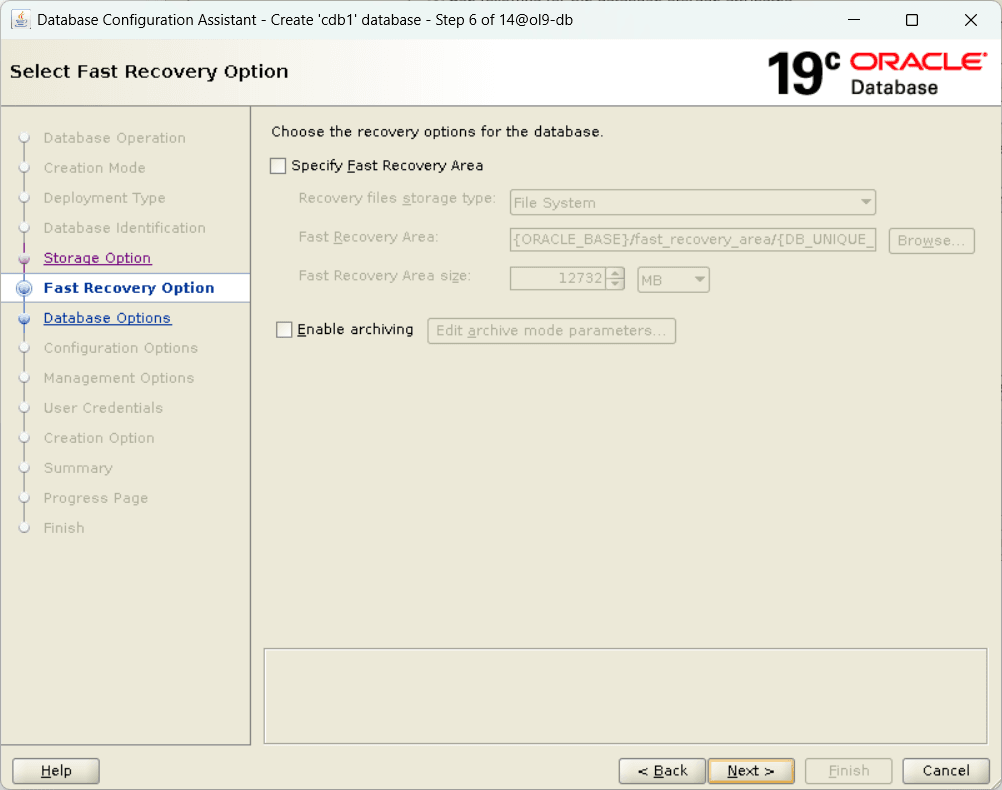
Test Koneksi Database
[oracle@ol9-db ~]$ sq

SQL*Plus: Release 19.0.0.0.0 - Production on Sun Jun 29 13:15:38 2025
Version 19.23.0.0.0

Copyright (c) 1982, 2023, Oracle.  All rights reserved.


Connected to:
Oracle Database 19c Enterprise Edition Release 19.0.0.0.0 - Production
Version 19.23.0.0.0

SQL> select name, open_mode, database_role from v$database;

NAME      OPEN_MODE            DATABASE_ROLE
--------- -------------------- ----------------
CDB1      READ WRITE           PRIMARY

SQL> exit
Disconnected from Oracle Database 19c Enterprise Edition Release 19.0.0.0.0 - Production
Version 19.23.0.0.0
[oracle@ol9-db ~]$ lsnrctl status

LSNRCTL for Linux: Version 19.0.0.0.0 - Production on 29-JUN-2025 13:15:55

Copyright (c) 1991, 2024, Oracle.  All rights reserved.

Connecting to (DESCRIPTION=(ADDRESS=(PROTOCOL=TCP)(HOST=ol9-db)(PORT=1521)))
STATUS of the LISTENER
------------------------
Alias                     LISTENER
Version                   TNSLSNR for Linux: Version 19.0.0.0.0 - Production
Start Date                29-JUN-2025 12:34:39
Uptime                    0 days 0 hr. 41 min. 16 sec
Trace Level               off
Security                  ON: Local OS Authentication
SNMP                      OFF
Listener Parameter File   /oracle/product/19c/network/admin/listener.ora
Listener Log File         /oracle/product/orabase/diag/tnslsnr/ol9-db/listener/alert/log.xml
Listening Endpoints Summary...
  (DESCRIPTION=(ADDRESS=(PROTOCOL=tcp)(HOST=ol9-db.localdomain)(PORT=1521)))
  (DESCRIPTION=(ADDRESS=(PROTOCOL=ipc)(KEY=EXTPROC1521)))
Services Summary...
Service "38b0d28b7da5aa95e063c838a8c0966c" has 1 instance(s).
  Instance "cdb1", status READY, has 1 handler(s) for this service...
Service "86b637b62fdf7a65e053f706e80a27ca" has 1 instance(s).
  Instance "cdb1", status READY, has 1 handler(s) for this service...
Service "cdb1" has 1 instance(s).
  Instance "cdb1", status READY, has 1 handler(s) for this service...
Service "cdb1XDB" has 1 instance(s).
  Instance "cdb1", status READY, has 1 handler(s) for this service...
Service "pdb1" has 1 instance(s).
  Instance "cdb1", status READY, has 1 handler(s) for this service...
The command completed successfully
Share this post